


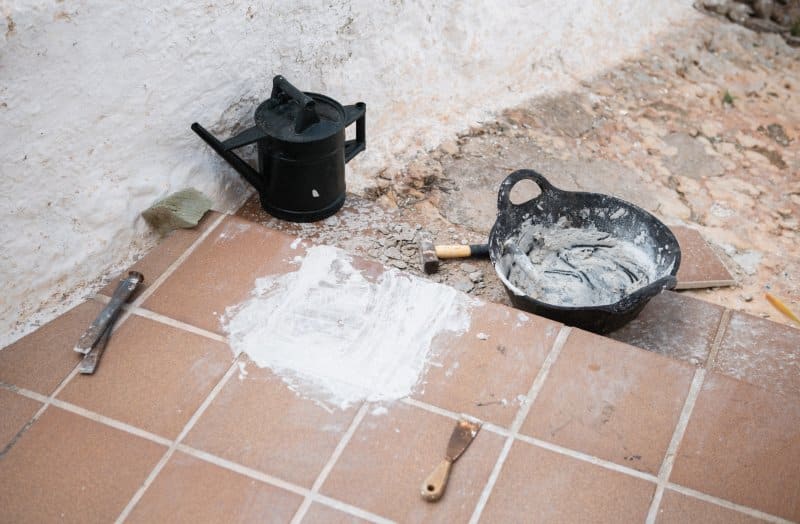
Planning to lay new tiles this year?
Homeowners agonize over tile choices for weeks. The color. The shape. The finish. They give about five minutes thought to what actually holds it together.
Here’s the problem:
Tiles are only as strong as the grout, sealer and adhesive beneath them. Pick the wrong product and a new floor can crack, stain or lift within months.
Pretty tiles won’t save a bad install.
Oh and by the way, if there is old barn wood flooring in the room beyond, you’ve got even more considerations. Wood and tile move completely differently than each other and the products you choose must accommodate this movement.
Here’s everything you need to know…
Why The “Glue” Matters More Than The Tile?
Consider adhesive, grout and sealer as a system. Adhesive bonds the tile to the substrate. Grout fills the joints and locks the tile in place. Sealer repels water and dirt.
If one of them fails… the whole floor suffers.
That’s not insignificant, either. According to home inspectors, cracked tile and grout is the second most common tile issue they deal with. And usually it’s not the tile’s fault.
It’s what’s going on underneath.
This is especially true when mixing materials throughout the home. Hardwood floors made from old barn wood give an ambiance and sense of history that tile will never achieve. It’s no surprise that reclaimed wood is so commonly used in living rooms and family areas combined with tile kitchen countertops and bathrooms. If you’re considering rustic floors for your hallway or living room, design your tiled bathrooms and kitchens simultaneously. The two floors will meet at some point and the glue, grout and sealer used on one should be compatible with your reclaimed wood flooring adjacent to it.
Choosing The Right Tile Adhesive
Tile adhesive is a lucrative industry. The worldwide industry will reach $4.13 billion in 2026, and it’s only increasing as more humans remodel.
But more choice means more ways to get it wrong.
There are 3x main types you’ll come across:
- Cement-based adhesive: This is your go-to adhesive. It is very strong, inexpensive and works on most rigid flooring surfaces.
- Flexible adhesive: Contains polymers allowing it to flex slightly. Used on timber subfloors or underfloor heating.
- Epoxy adhesive: Super strong and water proof. Ideal for areas with water and heavy-duty applications.
Here’s the thing most people don’t realise…
It’s not only what adhesive you choose. It’s how you apply it. If ridges of adhesive overlap, air is trapped under the tile and it will never stick. Eventually that hollow space will cause a cracked tile.
Aim for full coverage on the back of every tile.
One trick is to pop one tile back up after you press it down. If there is mostly backing material showing you are good to go. If you have exposed spots, you need to back-butter the tile with a thin layer.
Grout: The Weakest Link
Grout is almost always the first thing to fail on a tiled floor.
Why? Tile does not flex. Grout does not flex. If the floor beneath shifts just a little bit, the grout cracks first. Re-grouting may solve the problem for several months, until the movement continues unabated and the cracks return full force.
That’s why cracked grout is usually a warning sign, not the root problem.
Picking the right grout helps a lot. Here are the main options:
- Sanded grout: For wider joints of around 3mm or more.
- Unsanded grout: Used for joints less than 3mm thick. It produces a finer finish and won’t scratch polished tiles.
- Epoxy grout: Waterproof and stain-resistant. Difficult to work with so best left to confident DIYers or professionals.
But don’t forget about the mix…
If you add excess water, the grout will become weak and shrink when drying up. It will suck away from your tile edges leaving small cracks. Never deviate from the ratio on the bag.
And here is the biggie:
Cut out the grout where things need to expand. Where tiles meet the edge of the room or any other material, put silicone caulk instead of grout. It will allow your floor to expand without cracking.
Sealers: Your Floor’s Raincoat
This one surprises a lot of homeowners…
Tile floors are not completely water proof. Although the tile itself may be, water will penetrate grout even if it’s sealed perfectly. So you apply sealer.
There are two main kinds:
- Penetrating sealers: Penetrate the grout or stone and prevent water from entering from the inside out. These are clear and leave no visible film.
- Surface sealers: Rest on the surface and create a seal. Can add slight shine.
Good timing is critical. Grout must be completely cured before sealing. This typically takes several days. Most natural stone tiles require sealing before grouting as well to prevent staining.
Do you wonder if your floors need resealed? There’s a simple test you can do. Place a couple drops of water on the grout. If it beads up, you’re fine. If it absorbs into the grout and darkens it, you need to reseal.
Laying Tiles Next To Old Barn Wood Flooring
This is where plenty of renovations go wrong.
Reclaimed wood is a “breathing” material. It expands in humid air and contracts when the air is dry. Tile does hardly any movement at all. Push the two together snugly and something will have to give…..usually the grout line or the board edge.
The good news? A little planning fixes it.
Here’s what to keep in mind:
- Leave an expansion gap between the last tile and the first board.
- Use a transition strip to cover the gap and create a neat finish.
- Match floor heights early, so there’s no trip hazard where the rooms meet.
- Mask off wood surfaces while working since adhesive/sealer will stain an aged finish.
It may also pay to check moisture contents prior to starting. Moist adhesive and wet screeds emit moisture into the air. Old barn wood flooring in the vicinity will absorb it and cup. Proper ventilation while and after finishing really helps.
Getting The Foundations Right
Tile can change the entire look of a room. But the magic is really happening underneath. With that said…
- Choose an adhesive that suits your subfloor and room
- Get full coverage on the back of every tile
- Mix grout carefully and leave movement joints
- Seal once the grout has cured, and test it regularly
- Plan transitions carefully where tile meets old barn wood flooring
Choose the correct grout, sealer and adhesive from the beginning and your new floor will look as good in ten years as it does the day its completed.
